CORRECT YOUR CONCEALER MISTAKES
Let’s admit, out of all the makeup items that we own, the tiny yet mighty concealer has no doubt been our best friend.
It can make your skin go from blotchy to flawless in seconds- but only if you apply it right. A lot of us tend to correct the spots using a concealer but end up highlighting them instead of hiding. Luckily, we have hunted down some of the most common mistakes you might be making to help you transform your daily face.
One size doesn’t fit all
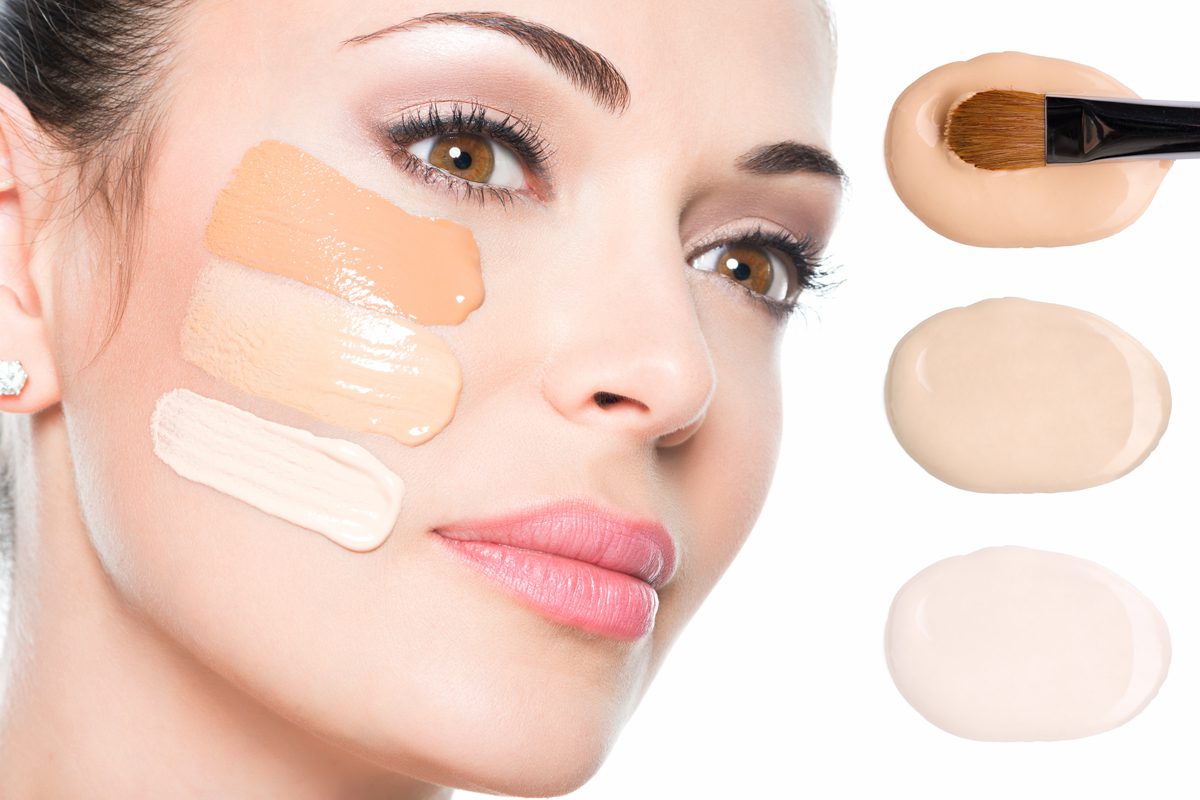
You probably think one magical concealer may be a fix to all your problems. However, the solution isn’t that simple. You need to carefully choose the best hue and texture for each area.
Tenets to follow – Always choose a concealer that is the same shade as your skin tone when covering up anything on the face (including blemishes, acne). Acclaimed makeup artist Ruby Biswas says,”This is necessary to shadow the raised bumps that basically project out of your face.” If the concealer doesn’t match perfectly to your skin tone, gently blend a little foundation over the top. For using it under the eyes, stick to the one that is only one shade lighter than your natural skin tone to brighten the sunken area. Also, liquid concealers are recommended for under-eye areas, while creams work better on blemishes as they’re less likely to wear off.
Expert Biswas helps us in understanding color correcting concealers using which could be a total game changer. She suggests, “If you have reddish marks and spots on your face, applying a green concealer over it neutralizes the redness. Similarly, if you have bluish skin around your eyes due to pigmentation or have blue toned eye bags, yellow concealer helps getting an even skin tone. If one has a dark skin tone, applying a peach or orange concealer and then applying foundation over it might help getting a more radiant look.
Before or After Foundation?
The most common question to address is what is the right order? Many say before, however the truth is that the only time that applying concealer before foundation works is when you are covering blemishes or scars. By applying the foundation first you’ll be able to cut down on the amount of concealer you need and avoid a caked-up look.
Tap it on
Concealer needs to be blended into your skin – it doesn’t just sit there on top of your blemish. No matter how speedy stroking the concealer into your skin might seem, you’ll end up rubbing the pigments away and breaking down coverage. Therefore, gentle tapping is the key to an airbrushed effect.
Tip – You could use a fine pointed brush to apply it on spots.
Not only for blemishes
If you’re only using concealer to hide blemishes, then you’re wasting it! Concealer can also be used to jazz up other facial features. For instance, you can line the outside of your lips with it to make the lips pop and keep your lipstick or lip gloss from bleeding onto the surrounding areas. You can also apply it on the centre of your lips to create the illusion of more plump lips.
Ready, Set, Stay
Most of us overlook this step but it is key in order to help the concealer stay in place and last longer throughout the day. However, some may blame it for causing caked-up lines. To avoid it proceed with caution and experiment with a small amount to gauge how much works best for your face. People with mature skin need to be even more careful as applying too much can look drying and highlight the lines.
The final step – Most important of all, do not forget to wipe it off before you get on to your beauty sleep!
Expert consulted: Ruby Biswas


